 Add Row
  Add
Add 


Did you know that nearly 40% of residential energy loss escapes through poorly sealed cracks and gaps in your home? That’s like leaving a window open all year round—costing you money and putting your family’s safety at risk. Fortunately, diy home caulking projects are one of the quickest, most affordable ways to cut costs, improve comfort, and keep your home safe. In this comprehensive guide, you’ll discover why caulking is a must-do home improvement project, how to choose and apply the right types, and the exact steps to seal your home like a pro.
Why DIY Home Caulking Projects are Essential for Home Safety and Savings
- Surprising Fact: Nearly 40% of residential energy loss comes from poorly sealed areas. That’s money out the window—literally.
- Completing diy home caulking projects is not just about savings; it’s about home safety. Gaps allow pests, moisture, and drafts to creep in, which can damage living spaces and even contribute to water damage and hazardous mold growth.
- By tackling these specific home improvements, you’re also preventing costly repairs and creating a cleaner, more energy-efficient, and home safe environment for your family.
Improperly sealed window frames, doors, and other edges create invisible highways for outside air, moisture, and even pests to invade your home. This can result in unnecessarily high energy bills, frequent home repair needs, and compromised home safety. Engaging in diy projects that involve caulking is a simple way to save money , while also boosting your overall comfort and well-being. With easy-to-use tools and modern silicone caulk options, these tasks are more approachable than ever—making it possible for any homeowner to seal the deal on better energy efficiency and lasting protection.

What You'll Gain from Mastering DIY Home Caulking Projects
- Noticeable reduced energy costs throughout the year by blocking drafts and improving insulation in your home.
- Enhanced home safety , as proper caulking prevents both intrusions and environmental hazards such as mold.
- Strong protection against water damage , stopping leaks and moisture from seeping into walls, bathrooms, and kitchens.
- Improved indoor air quality by sealing out dust, allergens, and pollutants with top-quality silicone caulk.
- Confidence to tackle small diy repairs and diy home caulking projects every season, saving on professional costs.
When you become skilled at diy home caulking projects , you’ll immediately see the difference in your utility bills and overall comfort. Even seemingly minor gaps around windows and doors can have a significant impact, and pure silicone caulk not only lasts the longest but also keeps the seals flexible and weatherproof. With each project, you’ll gain practical experience that translates to long-term cost savings and peace of mind, knowing your home is better shielded from both the elements and unplanned repairs.
Understanding DIY Home Caulking Projects: Key Concepts and Materials
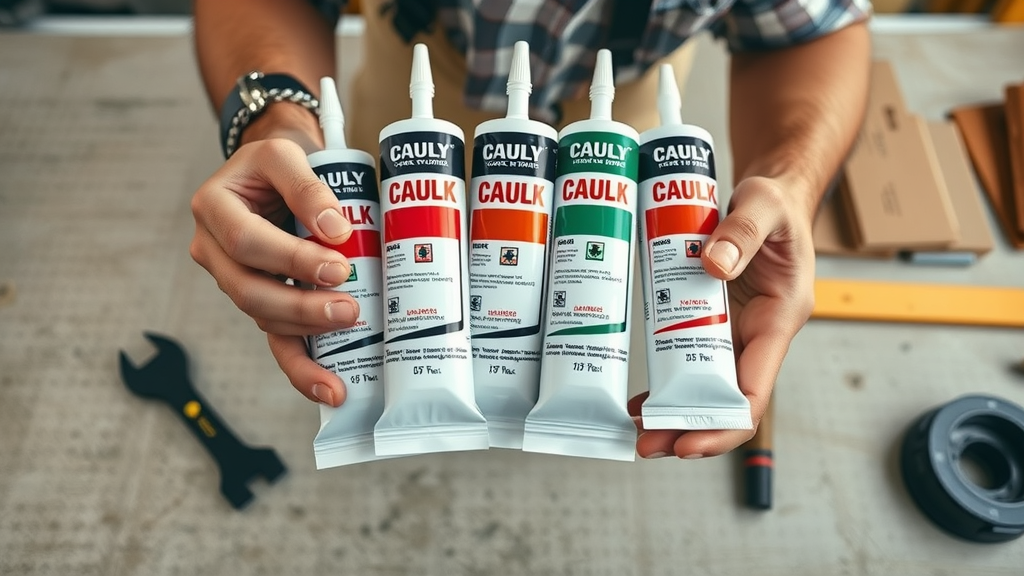
- In simple terms, diy home caulking projects involve using caulk—like silicone caulk , acrylic caulk, or latex caulk—to fill gaps and joints where air, water, and insects can easily get in.
- Silicone caulk stands out because it’s flexible, waterproof, and sticks well to a variety of surfaces, making it a go-to choice for most home improvement projects.
- Your selection matters: latex and acrylic caulk are easy to use and ideal for dry, interior areas, while polyurethane and silicone are the top performers for outdoor applications and damp environments.
Think of caulking as creating a clean, durable barrier that keeps your living spaces comfortable and protected. Different formulations of caulk serve specific applications : silicone caulk is best for wet or exterior areas, acrylic is good for paintable interior seams, and latex offers affordability for low-moisture, short-term projects. By understanding your choices, you’ll always be able to pick the right material for each job, ensuring strong seals and superior home safety .
| Caulk Type | Durability | Flexibility | Ideal Locations | Price Range |
|---|---|---|---|---|
| Silicone Caulk | 10-20 years | Excellent | Bathrooms, kitchens, exteriors | $$ |
| Acrylic Caulk | 5-10 years | Good | Windows, baseboards (indoor/dry areas) | $ |
| Latex Caulk | 5-10 years | Moderate | Trim, walls | $ |
| Polyurethane Caulk | 15-25 years | Excellent | Outdoor applications | $$$ |
Top DIY Home Caulking Projects Every Homeowner Should Try
- Sealing window frames to keep drafts at bay and lower energy usage
- Weatherproofing exterior doors where leaks can undermine home safety
- Caulking bathtubs, sinks, and showers for unbeatable defense against water damage
- Sealing baseboards and wood trim to improve air quality and deter pests
- Filling cracks and gaps outdoors —including siding and foundation seams—to increase energy efficiency and maintain a home safe standard
By prioritizing these diy home caulking projects , homeowners can take control of their environment. Each targeted area provides a big return for a minimal investment in supplies—proving that even small diy tasks can deliver impressive protection and value. Whether you’re preventing water intrusion or keeping heat and cool air where it belongs, caulk is your silent but powerful line of defense.
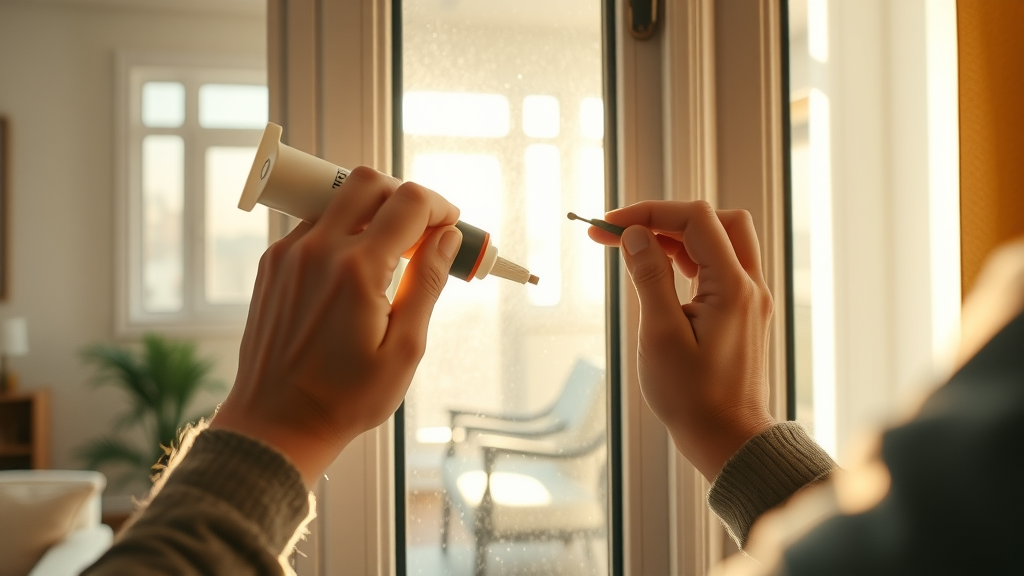
- Windows: Choose silicone caulk for weather-prone windows. Prep the frame, smooth the bead, and let dry for a leak-free finish.
- Doors: Use exterior-grade caulk along jambs and thresholds to eliminate drafts. Carefully mask off areas for a clean finish .
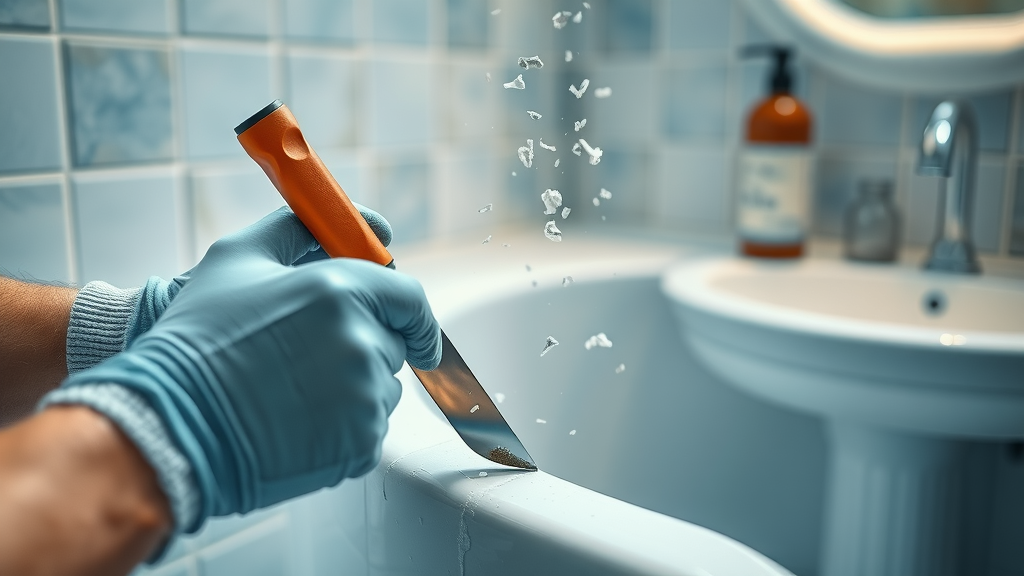
- Bathtubs and Sinks: Waterproof with mildew-resistant silicone caulk around joints. Always remove old caulk before applying new.
- Baseboards: Block air movement and allergens with paintable acrylic or silicone-latex blend.
- Exterior Cracks: Use polyurethane or advanced silicone to handle movement and UV exposure outdoors.
A caulking gun and proper application technique are essential for every diy home caulking project . The key advantage is long-term cost savings and a healthier, home safe environment.
How to Prepare Areas and Choose the Right Silicone Caulk for DIY Projects
- Surface Preparation: Clean the target area thoroughly, removing any dust, loose debris, or old caulk using a utility knife and cleaning solution. Let the surface dry completely to ensure the new caulk sticks properly.
- For tough or mold-prone spaces—such as bathrooms—select 100% silicone caulk designed for wet environments. Windows and doors exposed to weather should use either silicone or polyurethane caulk for durability.
- Bathrooms and kitchens benefit from mildew-resistant silicone caulk , while indoor dry areas can rely on easy-to-use acrylic caulk .
Thorough prep work not only helps the caulk adhere and seal, but also prevents issues like peeling and reduced protection over time. Invest in premium caulk products from your local hardware store, as low-quality or expired tubes often underperform and need more frequent touch-ups. When in doubt, always choose a caulk made from silicone for its maximum flexibility and moisture resistance—crucial qualities for maintaining home safety in any improvement project.
Expert tip: “Using the right silicone caulk can extend the lifespan of your home’s critical seals and significantly cut repair costs.”
Beginner’s Guide: Tools and Safety Tips for DIY Home Caulking Projects
- Must-Have Tools: Caulking gun, utility knife, smoothing tool or finger, rags, and painter’s tape for precise lines.
- Home Safety Considerations: Work in well-ventilated areas, wear gloves to protect your skin from chemicals, and place covers or drop cloths to catch drips.
- Checklist: Inspect caulk for expiration, prep all surfaces, mask off areas, keep a damp rag handy, and plan your steps before squeezing the trigger on your caulking gun .
Even first-time DIYers will succeed with these diy projects by taking the time to review the process. Top industry safety advice always mentions avoiding excessive force with the utility knife and keeping all application tools clean. While caulk is non-toxic when cured, proper ventilation ensures comfort and safety throughout your improvement project . A careful, methodical approach—paired with the right equipment—will help maintain a home safe environment while upgrading living spaces.
Step-by-Step Instructions for the Most Effective DIY Home Caulking Projects
- Remove old caulk or loose material from the gap using a utility knife or scraper.
- Clean and dry the surface completely; residue can prevent the new caulk from adhering.
- Mask off edges with painter’s tape to create a clean, straight line.
- Cut the caulk tube tip at a 45-degree angle; load it into your caulk gun .
- Apply steady pressure, moving slowly along the joint for an even bead. Use a smoothing tool or wet finger for a flawless finish.
- Remove painter’s tape immediately after smoothing. Let the bead cure as specified by the manufacturer—usually 24 hours.
- Troubleshooting: If the bead is lumpy, check for debris or improper smoothing; missed spots can be patched with a second, light application.
By following these specific, step-by-step instructions, you’ll create airtight, watertight seals that dramatically improve your home’s defense against the elements and guard against water damage. Regularly maintained diy home caulking projects can also extend the lifespan of your property’s most valuable features.
Most-Overlooked DIY Home Caulking Projects for Home Safety
- Attic hatch and pull-down stair seams: Seal where air escapes unnoticed, undermining energy efficiency.
- Crawl space vents and pipe penetrations: Block unseen entry points for moisture and pests by caulking gaps where pipes, wiring, and ducts pass through walls.
- Indoor utility penetrations: Don’t forget dryer vents, HVAC lines, and water lines to prevent invisible leaks and improve home safety .
Many homeowners focus only on obvious targets, missing these critical areas that can jeopardize attic insulation, promote pest infestations, or worsen water issues. Inspecting and maintaining seals in these locations is a crucial part of keeping your home safe and maximizing the return on your diy project investments.

How DIY Home Caulking Projects Deliver Cost Savings Over Time
- Statistics: Effective caulking can cut energy bills by 15–20% annually, with some insurance companies offering discounts to well-sealed homes.
- Real-world example: Homeowners save an average of $200 per year by sealing windows and doors. Water damage repairs avoided can mean thousands in savings.
- It only takes a few minutes for many small diy caulking tasks to deliver year-round cost savings and stop emergencies before they start.
Investing in sealant supplies—especially long-lasting silicone caulk —pays off quickly. Just one tube can protect susceptible areas for over a decade, compared to the expensive cycle of repairing rot, replacing insulation, or remediating mold. See the breakdown below for a cost-benefit analysis of several common diy home caulking projects .
| Location | Upfront Cost (Materials) | Annual Energy Savings | Repairs Avoided |
|---|---|---|---|
| Windows and Doors | $20-$40 | $100-$200 | Water damage repairs ($1,000+) |
| Bathtub & Shower | $8-$20 | N/A | Mold & water damage ($500-$3,000) |
| Attic/Crawlspace | $10-$30 | $60-$180 | Insulation replacement ($600+) |
| Outdoor Cracks | $10-$25 | $40-$120 | Pest remediation ($300+) |
What is the best brand of caulk?
- DAP: Popular for easy-to-use silicone caulk and painter’s caulks that work well for general indoor and outdoor home improvement projects . Reliable, affordable, and widely stocked at any hardware store.
- GE/GE Advanced: Industry leader in 100% silicone caulk , known for longevity, superior waterproofing, and flexible application.
- Sashco and Loctite: Praised for strong adhesion and specialty formulations for outdoor applications , including high-movement or extreme temperature areas.
Top brands offer specific formulations for each application—bathroom, kitchen, window, and exterior trim—so match your project’s needs to the product label. Some may feature slip app finishes, easy flowing beads, or quick drying times for minimal downtime. Always check reviews or consult a home improvement pro for recommendations if you’re still unsure.
Is caulking considered construction?
- Caulking is both a construction and diy project essential. In new builds, caulk plays a critical role in weatherproofing, sealing assemblies, and ensuring home safety from the start.
- For homeowners, caulking is a classic home repair —easy to perform without a contractor, and essential for ongoing maintenance.
- Insurance companies and inspectors often look for intact caulk as a mark of safe, energy-efficient construction and proper upkeep.
Whether you’re building, buying, or updating an older property, caulking creates a resilient, comfortable home. Even as a hobby or small diy project, it has a big impact on energy savings, water resistance, and peace of mind.
How to make your own caulk?
- Historically, people used mixtures of flour paste, wood ash, and chalk—but these don’t provide anywhere near the structural flexibility or water resistance of modern silicone caulk .
- DIY recipes might fill small decorative or low-stress gaps, but for genuine home safety , store-bought options are significantly more durable and reliable.
- It makes sense to attempt homemade solutions only for creative projects or as a temporary fix—not as a primary defense for windows, doors, bathrooms, or exterior repairs.
The key advantage of factory-produced caulk is consistency, proven testing, and a documented lifespan—qualities creating unique DIY blends can’t match. For all critical sealing needs, invest in a brand-name tube from a reputable hardware store to avoid future failures.
How to prepare area for caulking?
- Clean thoroughly: Wipe away dirt, grease, and old caulk residue with soap and water, then disinfect if needed.
- Dry completely: Moisture is the enemy of adhesion and long-term durability—let all surfaces air dry or towel off before you begin.
- Mask off areas: Use tape to mask the edges if you want a straight, professional bead. This will also make the improvement project much faster.
With even a few minutes spent on prep, the new caulk will go on clean, form a powerful seal, and stand up to years of wear and tear—keeping your home safe against leaks and drafts.
Pro Tips to Maximize the Lifespan of Your DIY Home Caulking Projects
- Perform seasonal maintenance: Inspect caulk after major weather changes or annually to catch issues early.
- Reapply when needed: If you spot cracks, peeling, or signs of caulk failure , scrape and refresh those areas promptly.
- Store leftover tubes in a cool, dry place with the nozzle capped airtight to prevent premature curing.
- Learn to spot trouble: Bubbling, peeling, or color changes often signal a weakened seal—fix sooner for better home safety .
Pro insight: “Staying proactive with seal inspections ensures your home stays safe and your energy bills stay low.”
Video demo: ‘How to Inspect and Refresh Caulked Joints for Home Safety’
Frequently Asked Questions About DIY Home Caulking Projects
-
What is the best brand of caulk?
Top-rated brands include GE/GE Advanced (premium silicone caulk), DAP (general purpose), and Sashco (specialty/high movement needs). Always match the type to your specific application for best results. -
Is caulking considered construction?
Yes, caulking is widely used in construction for sealing, waterproofing, and weatherproofing; it’s also an easy diy project for maintenance and repairs at home. -
How to make your own caulk?
Homemade caulk using flour or chalk is only suited for minor or decorative repairs. For serious waterproofing and long-term home safety , always use commercial products. -
How to prepare area for caulking?
Always clean, dry, and remove old caulk thoroughly. Mask off the work area for neat lines and better durability of your diy home caulking projects .
Recap: Smart DIY Home Caulking Projects for Every Homeowner
- Prioritizing diy home caulking projects can immediately cut costs , boost comfort, and deliver real home safety and long-term value.
- Start with windows, doors, bathrooms, and overlooked utility gaps to see the best results—then keep up with regular inspection for worry-free living.
Ready to Start Your Next DIY Home Caulking Project?
- Take five minutes to walk through your home and identify potential drafts, gaps, or damp spots.
- Stock up on the right silicone caulk and tools, refer back to the guides above, and take action now to lock in energy and money savings—all while protecting your home’s future.
Action step: Assess your home’s seals today—pick a spot, buy your supplies, and start your first diy home caulking project for a safer, more energy-efficient home.


Write A Comment